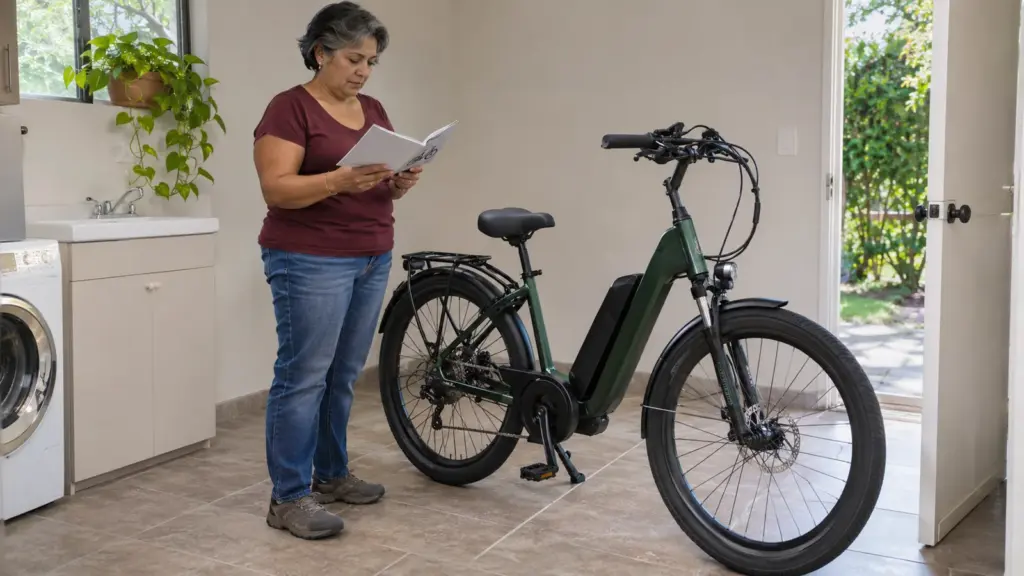
The Five-Minute Bike Check Before a Workday Ride
Check tires, brakes, the drivetrain, fasteners, and luggage before a bicycle commute, and recognize when a mechanical problem needs attention.
Updated October 30, 2026

A pre-ride check is a way to notice obvious problems before they interrupt your journey. It does not replace scheduled servicing or a mechanic’s inspection. Keep the routine short enough that you will actually use it, and pay particular attention after transporting the bike or adjusting equipment.
Begin with air and visible condition
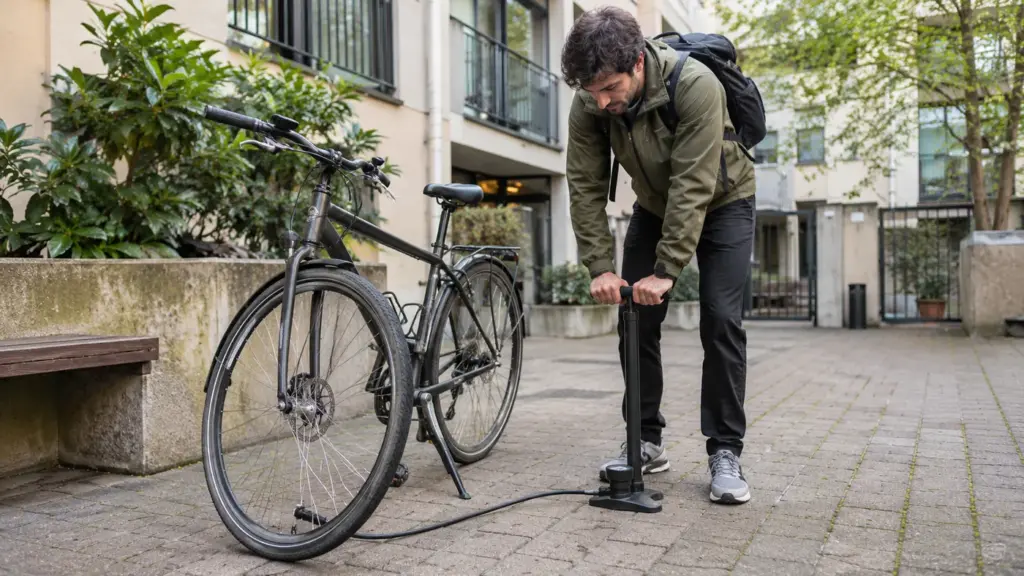
Look at both tires for damage, embedded objects, or an obvious loss of pressure. Use a suitable gauge and the tire and bicycle manufacturers’ guidance when setting pressure; the right choice depends on the tire, load, and setup. A tire that repeatedly loses air needs investigation rather than daily optimism.
The League of American Bicyclists basic bike check uses an air, brakes, and chain framework. Starting in the same place each time makes it easier to remember what you have examined.

Check braking before joining traffic
Operate each brake and confirm that it engages normally. Notice a lever pulling unusually far, rubbing, looseness, or a new noise. Test braking at very low speed in a suitable clear area before committing to the commute. If something feels wrong, stop and have it assessed.
Do not make unfamiliar adjustments moments before entering a busy road. Brake systems vary, and a confident-looking guess is not a repair. Your backup journey is preferable to relying on a system you do not trust.
Look at the chain and secure parts
Check that the chain is seated and that the drivetrain moves normally. Look for loose accessories and confirm that wheels and the saddle are secured according to their fastening systems. The Contra Costa Transportation Authority checklist includes quick releases and a final check, which are useful reminders after taking a wheel off for storage or transport.
Keep fingers clear of moving parts. A quick visual check can identify a concern without trying to diagnose every mechanical detail. Record recurring noises or slipping so you can describe them accurately when arranging service.
Include the things you added
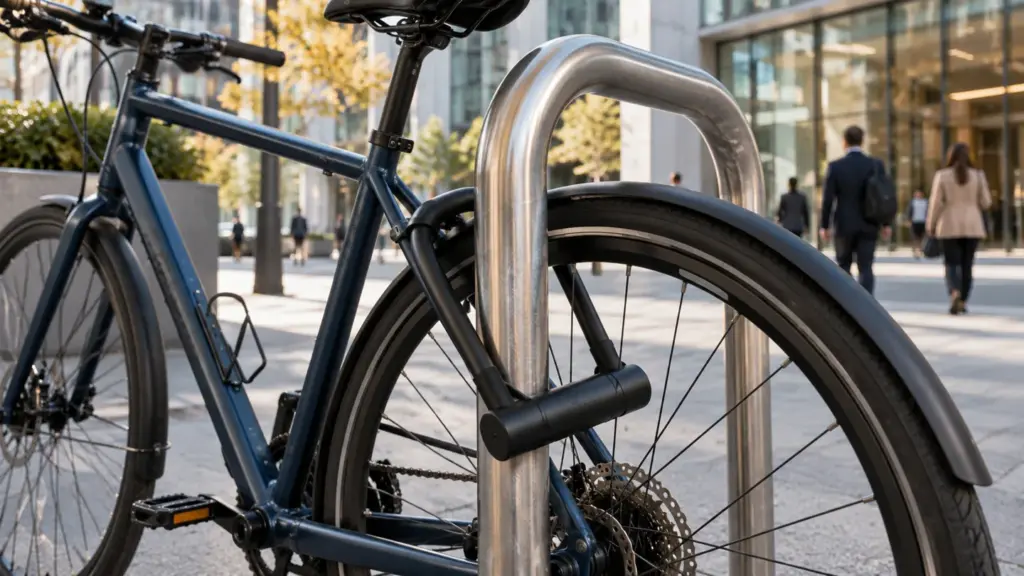
Check the rack, panniers, lock, lights, and any clothing straps. Nothing should hang where it could enter a wheel or affect steering. A loaded bicycle may handle differently, so secure the bag and test it before setting off.
Finish with a brief ride in a suitable place. Shift, steer, and brake gently to notice changes. If the bike behaves normally, you have completed a repeatable departure routine. If it does not, leave time to fix the problem properly or take another route to work.